How to Grow Plants in your Garden using Seeds?
People are becoming more interested in gardening as a hobby or as a way to generate their own food, and they've learned about the advantages of starting to grow plants from seeds. Even if there is snow on the ground, you can sow seeds indoors to jumpstart the growing season and get your hands dirty.
You can start growing plants earlier, such as tomatoes and peppers that take longer to mature, by doing this rather than buying nursery starts. It's a good approach to guarantee you get the types you desire because many rare and heirloom cultivars are only available from seed. Here is how to begin:
Starting from seed enables you to select from a greater variety of plants than you would at a nursery and lets you see your plants grow from seed to maturity. You can use the Bloomscape Coupon Code to buy the flower bulb and much more at low prices.
Choose Your Seeds First
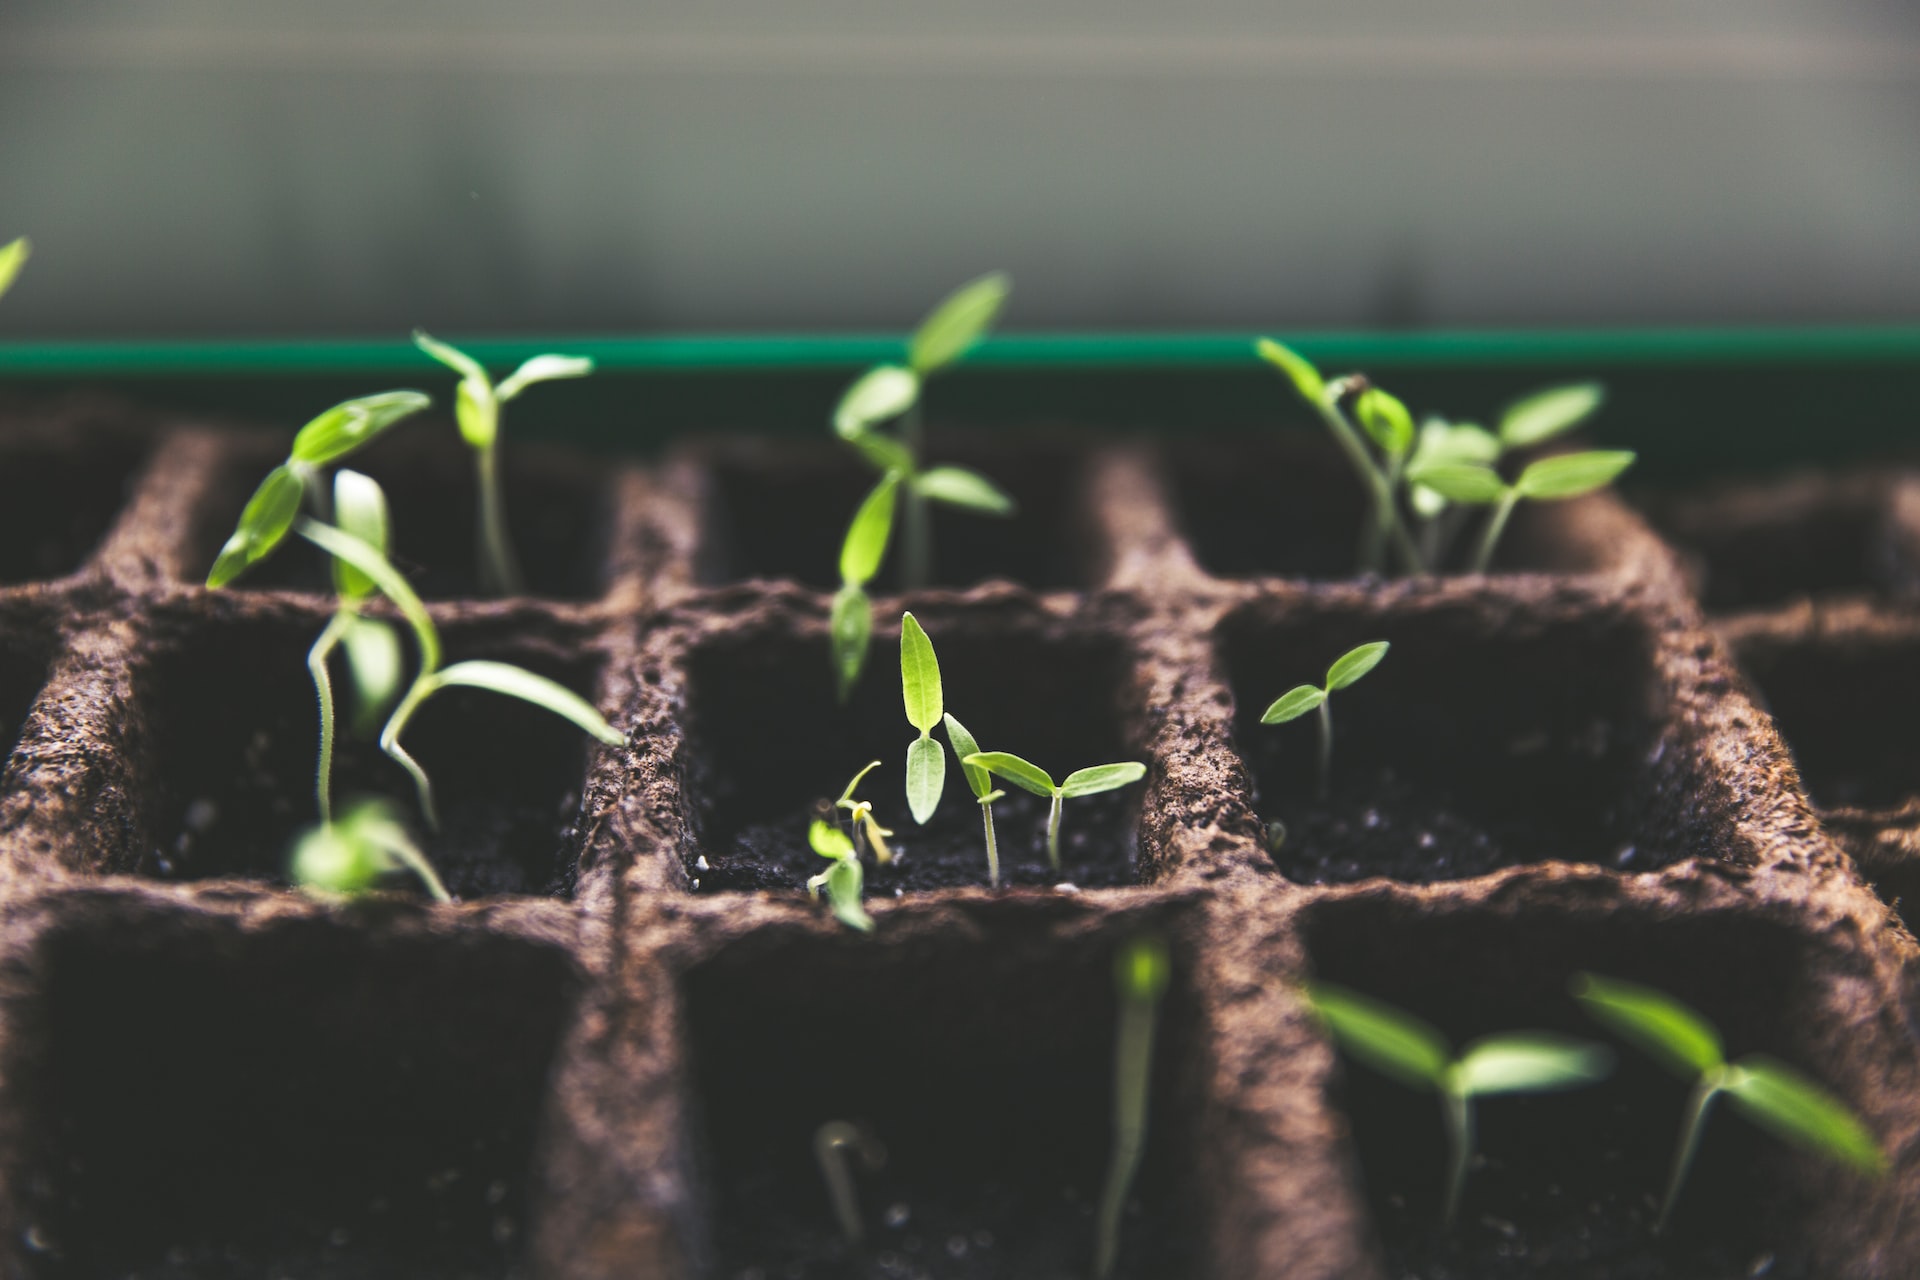
In general, grow plants with large seeds are the simplest to grow from seed, such as peas, beans, maize, squash, melon, and cucumbers. The majority of greens, tomatoes, peppers, eggplants, broccoli, cauliflower, and Brussels sprouts are among the more challenging crops to grow from microscopic seeds.
Select A Container
Consider sowing seeds indoors rather than directly in a garden bed outside, where birds and various other animals might eat them for dinner. Planting seeds indoors, as opposed to direct sowing, ensures that your seeds will be warm and secure, allowing you to start growing in the late winter while you wait for the weather to warm. Egg cartons or even tiny pots can be used to start seeds.
Fill Your Container With Seed Starting Mix
In contrast to potting soil, the seed starting mix includes peat moss or coco coir, perlite, vermiculite, and occasionally compost. It has excellent drainage, facilitates sprouting, and is sterile, so you don't need to be concerned about fungi. You need to get your starting mix with water first, then fill the containers with it. Squeeze a handful of the mix firmly to determine if the water-to-mix ratio is ideal.
Sow The Seeds
For details on planting depth and spacing, consult the seed packet. A general rule of thumb is to bury a seed twice as deep as it is long if you've lost your seed packet. Once buried, use the palm of your hand to thoroughly compact the soil. You should leave many different kinds of tiny seeds on the surface rather than burying them since they need light to grow plants, such as lettuce, petunia, and snapdragon.
Seal The Container
To trap in the moisture and heat required for your seeds to germinate, enclose your seeds in a layer of plastic wrap or the plastic dome cover from your seed starter tray. Generally speaking, it's ideal to keep your container in a warm area that gets indirect sunshine, but always check your seed packaging for precise instructions as certain seeds need complete darkness to develop.
Spray Seeds With Water
Check to see if the starter mix is still moist every several days. Avoid using a watering can if it seems dry since it can wash the delicate seeds away. Instead, either place your container in a larger tray of water so the mix absorbs water from underneath, or use a spray bottle to spray a coating of mist over the mixture's top. When your seeds begin to sprout, take off the container's lid. Get your hands on Monticello Shop Coupon Code for savings.
Take Good Care Of Your Plants
This entails routinely watering them and maintaining the appropriate temperature range for each seed according to the seed packet. The seed starting medium needs to stay moist without getting too saturated, just like during the germination stage. Once the seedlings have developed their second sets of leaves, start fertilizing them. These leaves sometimes referred to as genuine leaves, are a sign that your seedlings are getting ready to grow plants.
Make Your Seedlings Hardy
To prevent shock from the abrupt shift in environment, indoor seedlings are progressively exposed to outside circumstances like cooler temperatures, wind, and direct sunlight. This process is known as "hardening off." Start this process by putting your seedlings outdoors for an hour each day, 10 to 14 days before the day of your transfer.
Move Your Seedlings Outside
It's time to transplant your seedlings to an outdoor garden bed or pot once the conditions are right—typically shortly after the final frost of the season. If at all feasible, try to transplant while the sky is cloudy. To find out how much space each seedling requires in the garden to grow plants, consult your seed packaging or a seed catalog.
Read More Blogs: Different types of Lights for Indoor and Outdoor Décor
Related Posts
